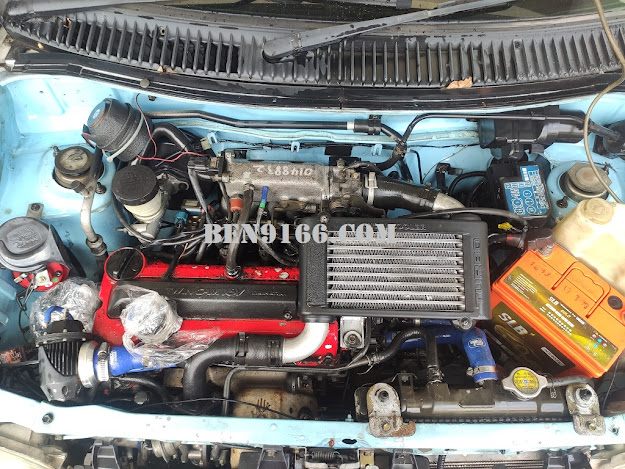
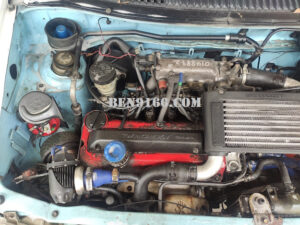
After four years of constant use and abuse, my Kancil engine bay was a total disaster. Oil and grime were everywhere, making it unpleasant to even open the hood—let alone work on anything. I finally decided it was time to take action and clean things up.
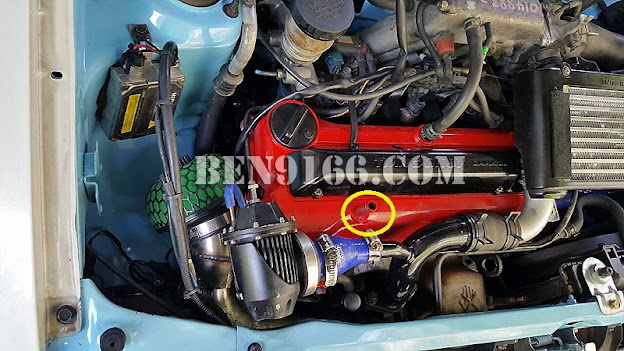
The culprit? A small breather filter I installed on the engine valve cover. Normally, this breather should connect back to the intake manifold. But due to a missing pipe during my engine transplant, oil vapor was blowing straight into the bay, causing a sticky mess over time.
Why My Kancil Engine Bay Got So Dirty
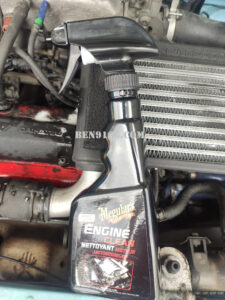
The oil leak built up slowly. I ignored it for a while, but eventually, I couldn’t anymore. Every time I popped the hood, it looked like an old workshop floor—greasy, dusty, and awful to touch. Working on it became frustrating. So I grabbed a can of Meguiar’s Engine Cleaner and decided to fix the mess myself.
Tools I Used for Kancil Engine Bay Cleaning
Here’s what I used:
- Meguiar’s Engine Cleaner Spray
- Soft detailing brushes
- Plastic bags (to protect sensitive parts)
- Microfiber cloths
- Garden hose (with light water pressure)
The entire process didn’t need any expensive equipment, which is perfect if you’re on a budget or doing this at home.
Step-by-Step Kancil Engine Bay Cleaning
Step 1: Cover Important Areas
Before spraying anything, I used plastic bags to wrap the battery, alternator, fuse box, and air intake. These areas are sensitive to water, so always protect them first.
Step 2: Spray the Degreaser
I generously sprayed Meguiar’s Engine Cleaner all over the engine bay. The formula clings well and cuts through the grease.
Step 3: Brush the Grime
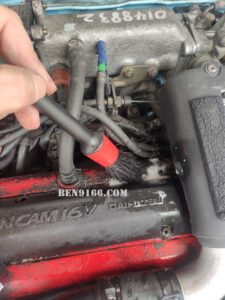
Using a detailing brush, I scrubbed the dirtiest parts—especially around the valve cover and lower block. This part was messy, but worth it.
Step 4: Rinse Carefully
With a low-pressure hose, I gently rinsed off the cleaner. I made sure not to spray directly at the electrical components.
Step 5: Dry and Wipe Down
After rinsing, I wiped everything down with microfiber towels and let the engine bay air-dry for an hour before starting the car.
Final Results of the Engine Bay Refresh
While it didn’t turn out showroom-perfect, the results were a big improvement. The engine bay looked fresher, and it felt great knowing I could now work in a cleaner space.
Final Thoughts
Cleaning your Kancil engine bay doesn’t require pro-level tools or expensive detailing services. With a bit of care, patience, and the right cleaner, you can transform a greasy mess into something manageable. If your Kancil looks like mine used to—don’t wait. Try it yourself!