Introduction
Think bikepacking is expensive? Think again. I built my bikepacking kit for under RM500 – complete, reliable, and ready for adventure.
Like most riders, I used to believe you needed premium gear from Apidura or Ortlieb. But after some creative research, I discovered you can explore Malaysia’s backroads with a full setup that costs less than a single budget-friendly saddle bag.
In this post, I’ll show you my step-by-step gear list, where I bought everything, and how to keep your total below RM500 without compromising performance — including essentials like a lightweight handlebar bag and waterproof dry sack.
Ready to build your own budget-friendly bikepacking setup? Let’s dive in.
Why I Built a Budget Bikepacking Kit
Bikepacking blends freedom and simplicity but the gear cost can be overwhelming. A premium saddle bag alone can set you back RM300–RM500. That’s when I set a challenge for myself:
What I learned? You don’t need fancy brand names, just good planning and creativity.
My Bikepacking Kit for Under RM500 (Full Breakdown)
Here’s everything I packed, tested and proven on local weekend rides.
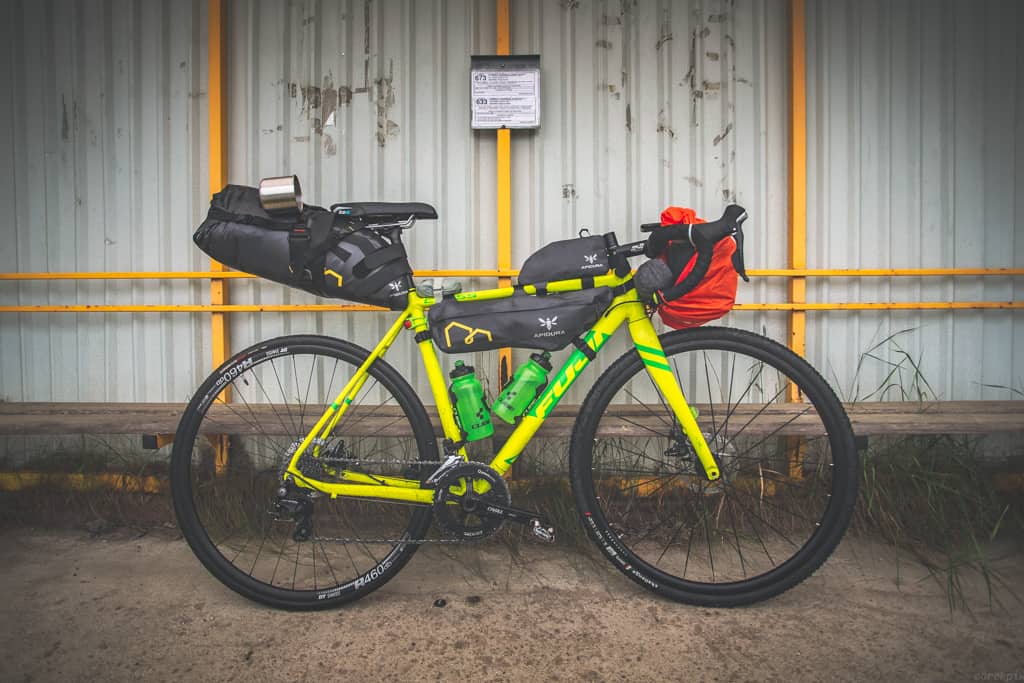
Storage and Bags (RM140)
- Seat Pack (RM50) – Generic 5L waterproof bag from Shopee.
- Top Tube Bag (RM25) – Perfect for snacks, keys, and power bank.
- Frame Bag (RM45) – Balances center weight and fits most road frames.
- Dry Bag (RM20) – Stores clothes or food during wet rides.
Tools & Maintenance (RM80)
- Mini Pump (RM25)
- Patch Kit + Tire Levers (RM10)
- Compact Multi-tool (RM30)
- First Aid Kit (RM15)
Cooking & Food (RM100)
- Mini Gas Stove (RM60)
- Gas Canister (RM15)
- Foldable Cup + Spoon (RM10)
- Instant Meals & Coffee Packs (RM15)
H3: Sleeping Setup (RM145)
- Ultralight Sleeping Mat (RM45)
- Compact Blanket (RM25)
- Tarp Shelter (RM40)
- Elastic Straps + Reflectors (RM35)
💬 Optional upgrade: Swap the tarp for a second-hand bivy bag if you find one below RM60.
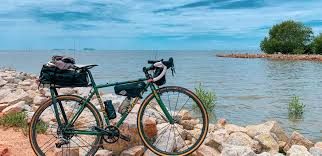
How I Packed My Bike Efficiently
Good packing is everything. Here’s my system:
- Seat pack: Sleeping items and clothes.
- Frame bag: Tools and food (center weight).
- Handlebar: Light tarp and blanket.
- Top tube: Essentials (wallet, phone, charger).
This arrangement keeps the center of gravity low and handling smooth.
Where I Bought My Gear (and What to Avoid)
Most of my items came from Shopee Malaysia, Decathlon, and Daiso – reliable, cheap, and easy to replace.
Decathlon Malaysia – Bikepacking & Touring Gear
Avoid unbranded zippers or clips that look weak. Spend a little more for waterproof and reflective options and still fits the under RM500 budget.
Lessons from Building a Bikepacking Kit for Under RM500
- Quality ≠ Price. Many affordable options perform just as well.
- Comfort matters more than brand.
- Organization saves time. Keep your setup consistent every trip.
- Test before long rides. Small failures become big issues on the road.
Conclusion: Start Your Own Adventure
Building my bikepacking kit for under RM500 proved that adventure doesn’t need to be expensive. What matters is the experience, not the price tag.
If you’ve been putting off your first trip because of cost, start small and you’ll be surprised how capable a budget setup can be.
So… what’s stopping you? Grab your bike, pack light, and start your journey this weekend!