Introduction
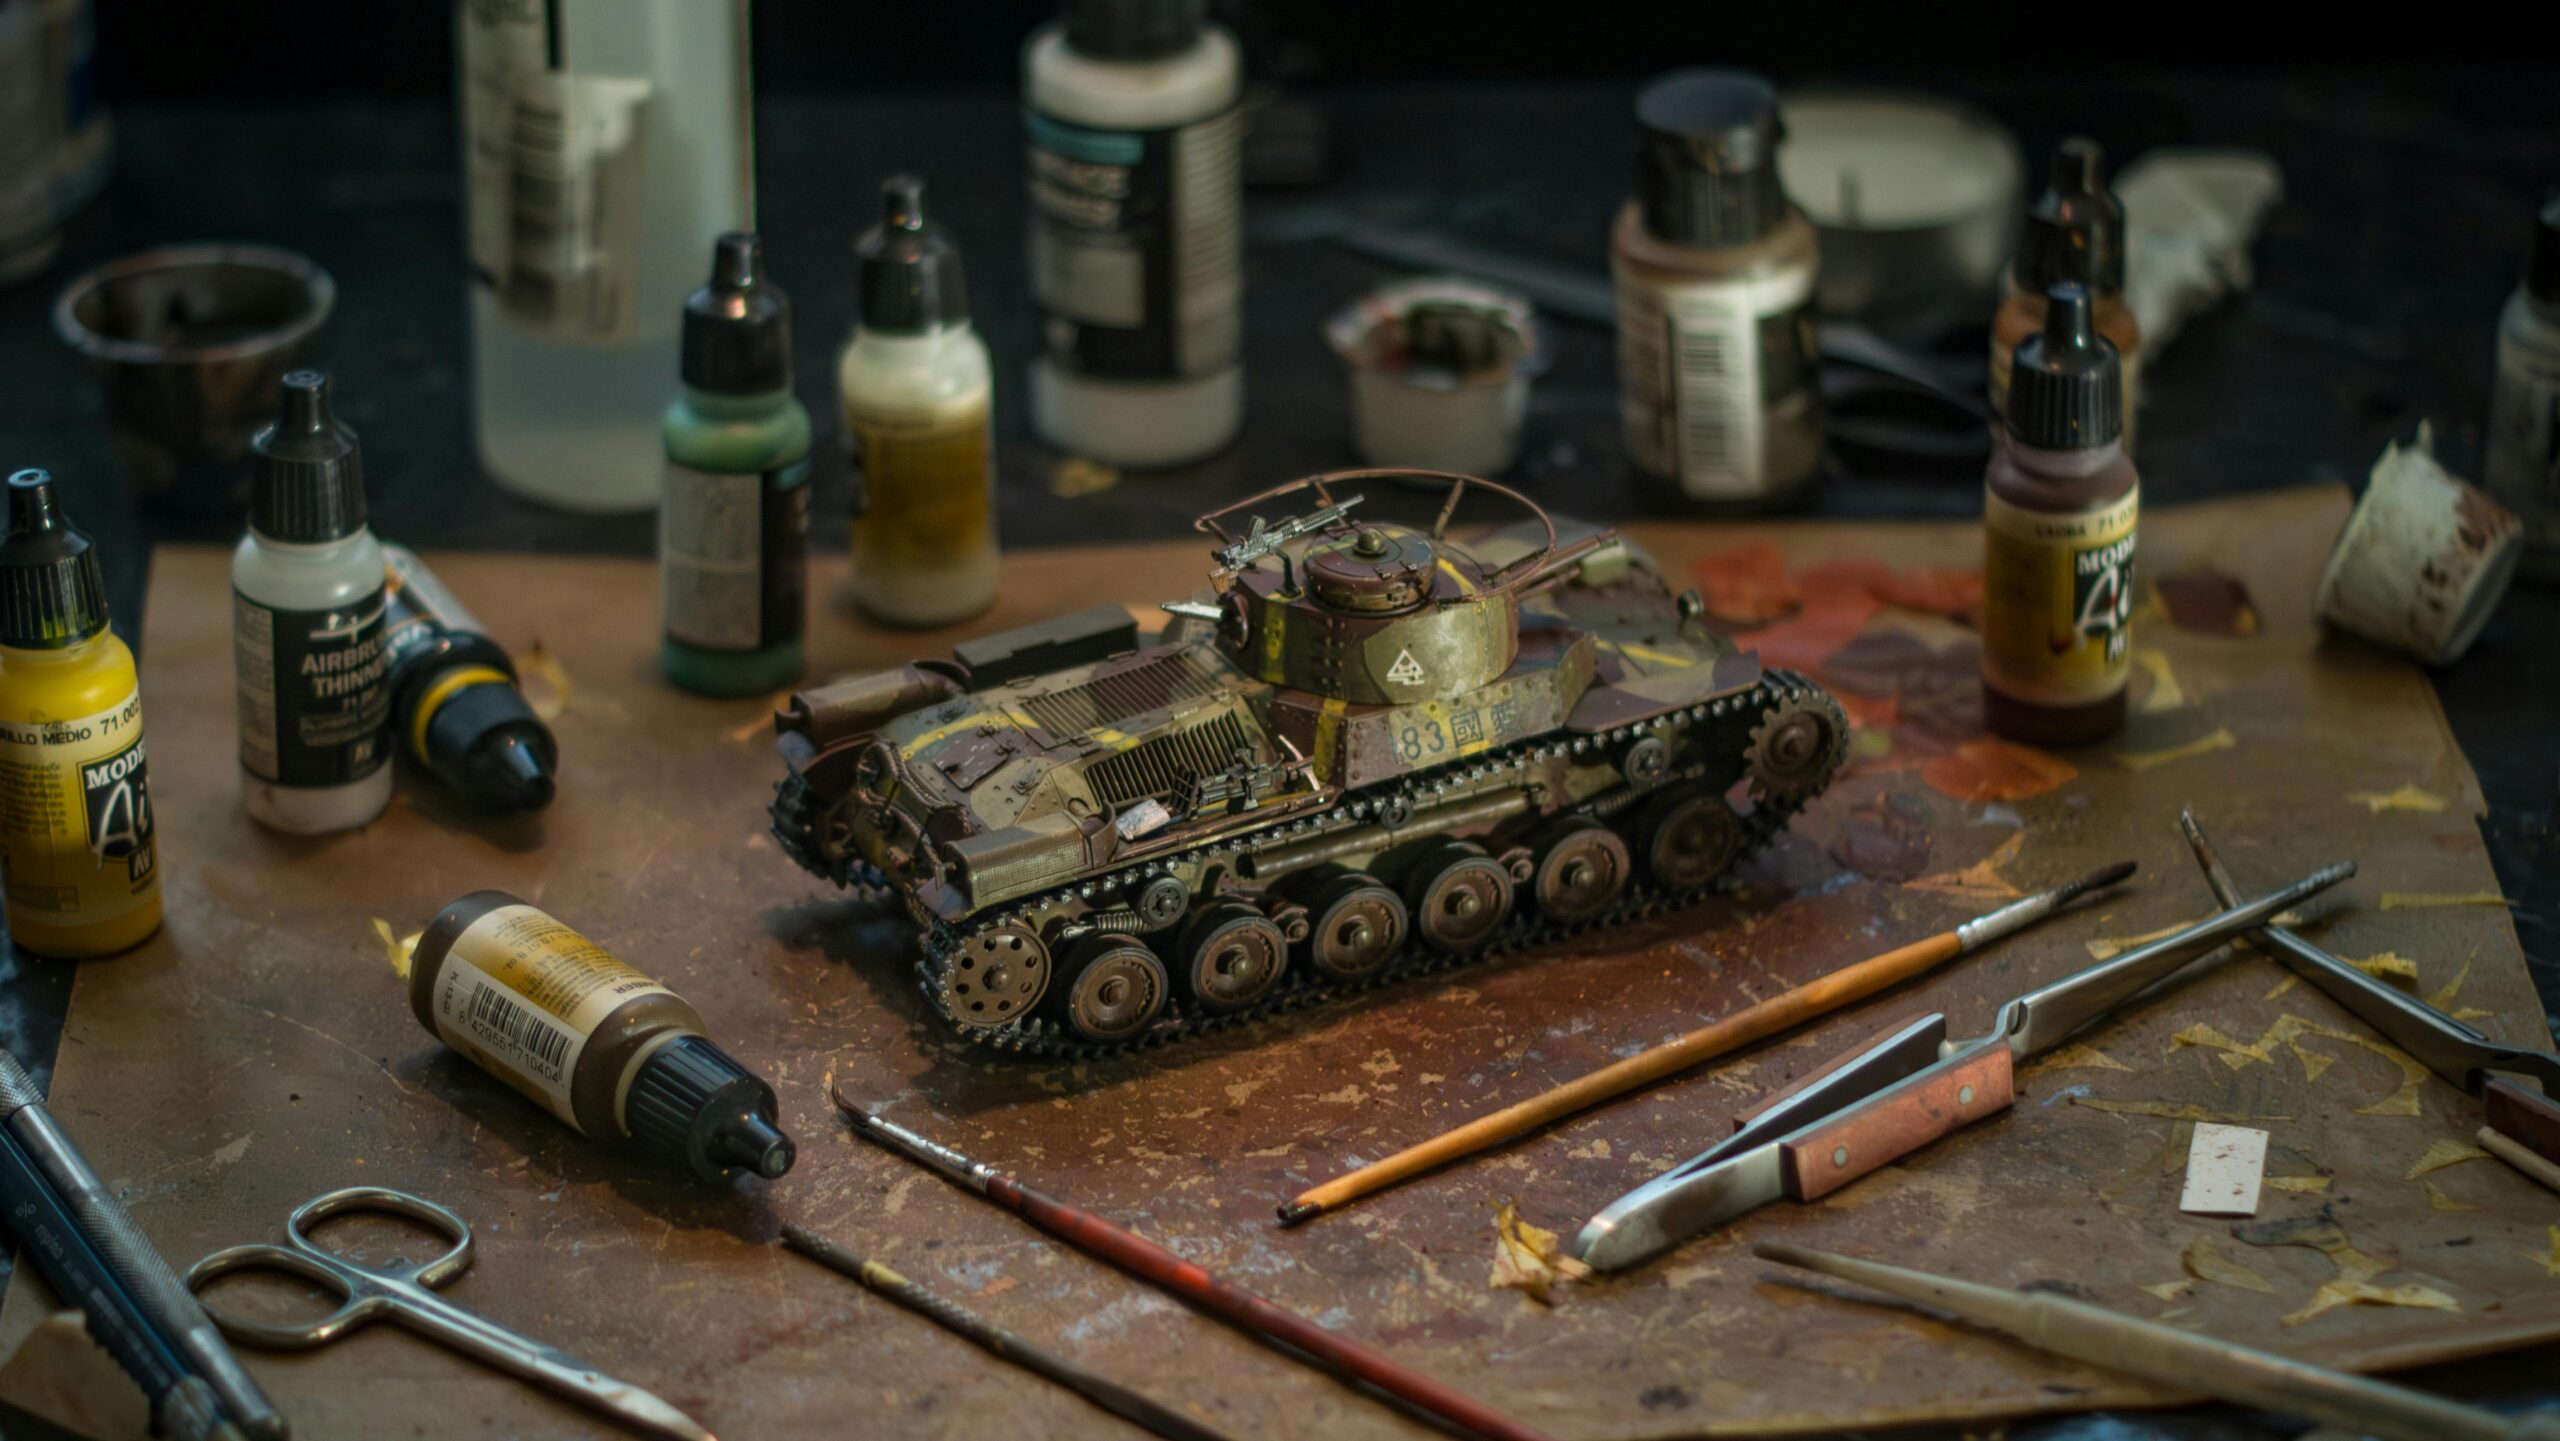
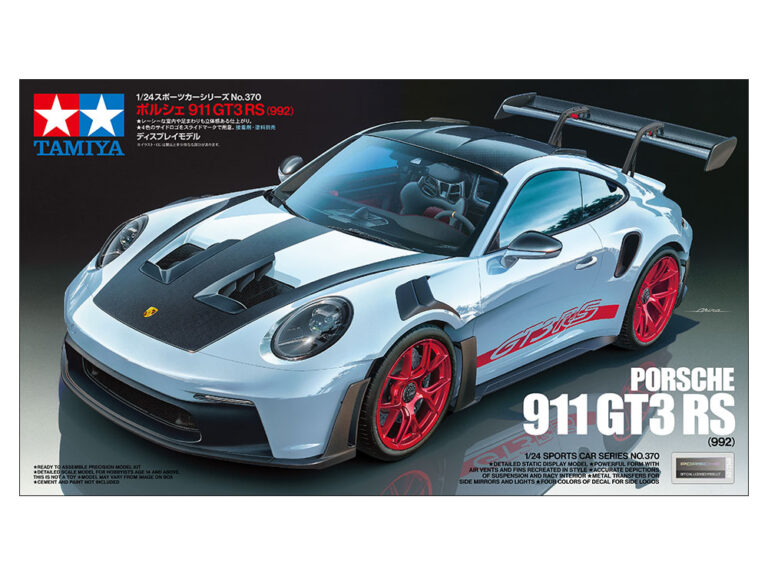
Are you struggling to choose the right paint for your model kits? Choosing the right paint can make or break your project, whether it’s a Gundam, car model, or military kit. Knowing which paint type, finish, and brand to use ensures vibrant colors, smooth finishes, and long-lasting results.
In this guide, you’ll learn how to choose the right paint for your model kits and discover the tools and techniques that make painting easier even for beginners.
Why It’s Important to Choose the Right Paint
Choosing the wrong paint can lead to:
- Uneven or blotchy finishes
- Paint peeling or cracking
- Colors not matching your design
Using the right paint ensures:
- Smooth application and better adhesion
- Vibrant, true-to-color results
- Easier layering, shading, and weathering effects
Check our guide on model kit assembly techniques for prep tips before painting.
Step 1: Decide Between Acrylic, Enamel, and Lacquer
Acrylic Paint
- Water-based and easy to clean
- Quick drying
- Less odor, beginner-friendly
Enamel Paint
- Oil-based, durable finish
- Slower drying for blending and weathering
- Requires proper ventilation
Lacquer Paint
- Very durable, glossy finish
- Fast drying, smooth coverage
- Needs thinner and safety precautions
Check out this acrylic paint set for beginners, it’s perfect for your model kits.
Step 2: Choose the Right Finish
- Gloss: Reflective, great for vehicles or polished surfaces
- Matte: Flat, ideal for military kits or realistic textures
- Semi-Gloss/Satin: Balanced shine for scale models
Tip: Always test the finish on a spare sprue piece before committing to the main model.
Step 3: Consider Application Method
Brush Painting
- Affordable and accessible
- Works well for small details and touch-ups
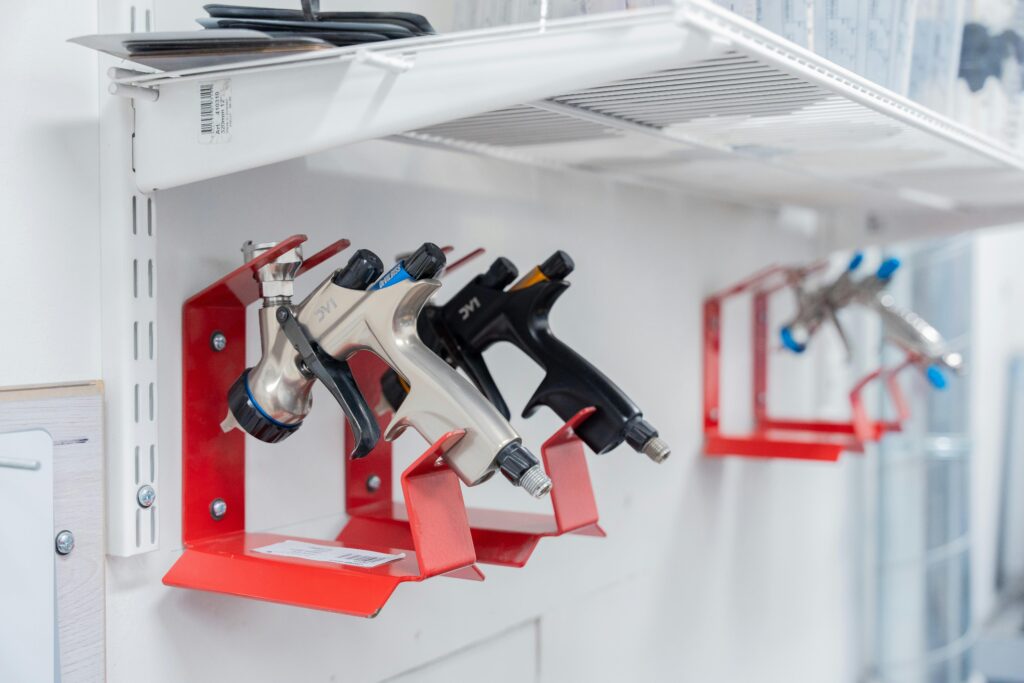
Spray or Airbrush
- Smooth, even coats for large surfaces
- Requires practice but delivers professional results

Step 4: Check Compatibility with Materials
- Plastic kits usually accept acrylic, enamel, and lacquer
- Resin and metal may require primer first
- Always read the paint label for material compatibility
Internal Link: Learn how to properly prime your model kits before painting.
Step 5: Mix and Thin Properly
- Thinning ensures smooth application and prevents brush strokes or clogging in an airbrush
- Acrylics: use water or acrylic thinner
- Enamels: use enamel thinner
- Lacquers: use lacquer thinner
Step 6: Layering and Detailing Tips
- Start with a base coat
- Apply thin layers to avoid drips
- Add highlights and shading for depth
- Seal with a clear coat for durability
Conclusion
Learning how to choose the right paint for your model kits makes a huge difference in your results. From selecting the right type, finish, and application method to using proper thinning and layering techniques, following these steps will help you achieve professional-looking models every time.
Ready to level up your model kits? Check the recommended paints and tools on Shopee and start creating flawless finishes today!


