Looking to upgrade your Toyota Celica audio system without messy wiring or ugly panel gaps? Installing the Carrozzeria CB72 is one of the easiest and cleanest ways to modernize your interior and improve sound quality. In this step-by-step guide, I’ll show you exactly how to install the Carrozzeria CB72 in your Celica, what tools you need, what to expect, and how it performs after installation.
If you want OEM fitment, modern features, and better sound without dashboard modification, this guide is for you.
What Is the Carrozzeria CB72 and Why Choose It for the Celica?
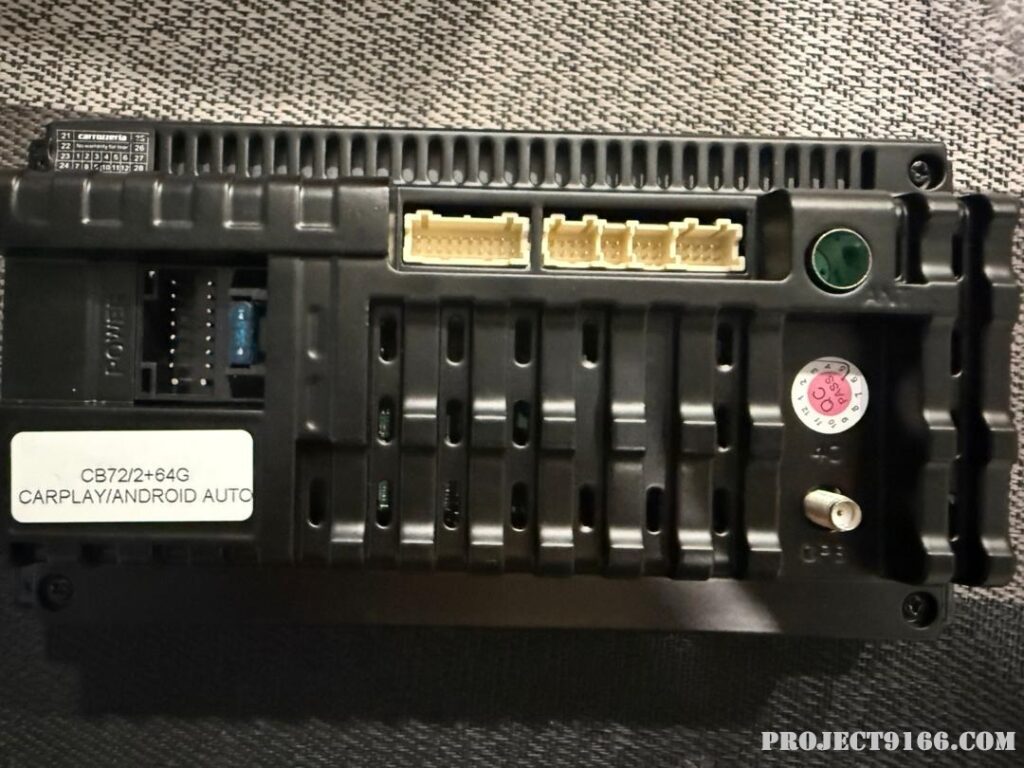
The Carrozzeria CB72 is a Toyota-specific head unit with a 200mm x 100mm dimension, making it a perfect plug-and-play replacement for the Celica’s original unit. There is no gap, no bracket cutting, and most importantly, the wiring socket is plug and play — no soldering, no wire guessing, and no cable damage to your original harness.
If you are choosing between CB71 vs CB72, here is the difference:
| Model | Size | Fitment | Specs |
|---|---|---|---|
| Carrozzeria CB72 | 200mm x 100mm | Toyota-fit (Celica perfect fit) | 2GB+64GB, DSP, 7″, GPS, WiFi |
| Carrozzeria CB71 | 180mm x 100mm | Universal Double-DIN | Same internal spec |
For Toyota owners, especially Celica; choose the Carrozzeria CB72.
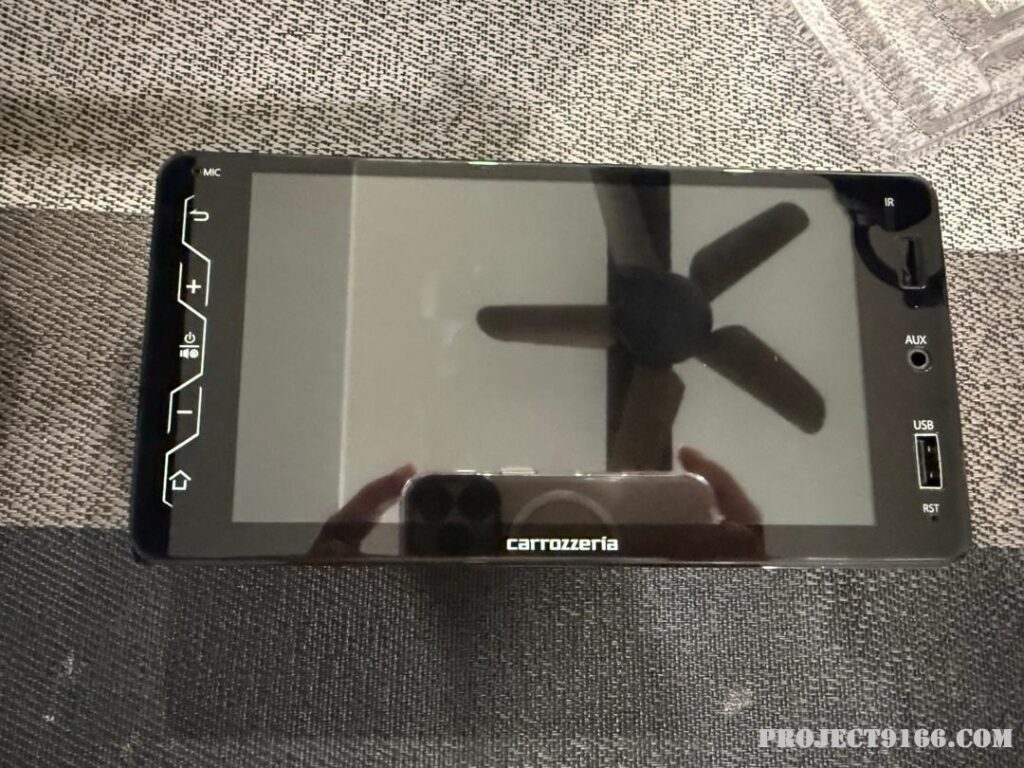
Carrozzeria CB72 Specifications
The Carrozzeria CB72 is packed with modern features that instantly transform your driving experience:
- 2GB RAM + 64GB Storage
- 7-inch Touch Display (1024 × 600)
- Quad-Core 1.3GHz Processor
- DSP (Digital Signal Processor)
- AHD Reverse Camera Support
- USB x 2
- AV Input & Video Output
- Wi-Fi + GPS Navigation
- Bluetooth for calls and music
- Fast UI, clean interface, and strong audio clarity
The built-in DSP improves bass, voice clarity, and staging — something the factory unit could never deliver.
How to Install the Carrozzeria CB72 (Toyota Celica Step-by-Step)
1. Remove the Original Head Unit
- Use a pry tool to remove the center dashboard panel
- Unscrew the four screws holding the factory unit
- Pull the unit forward slowly to expose the original wiring
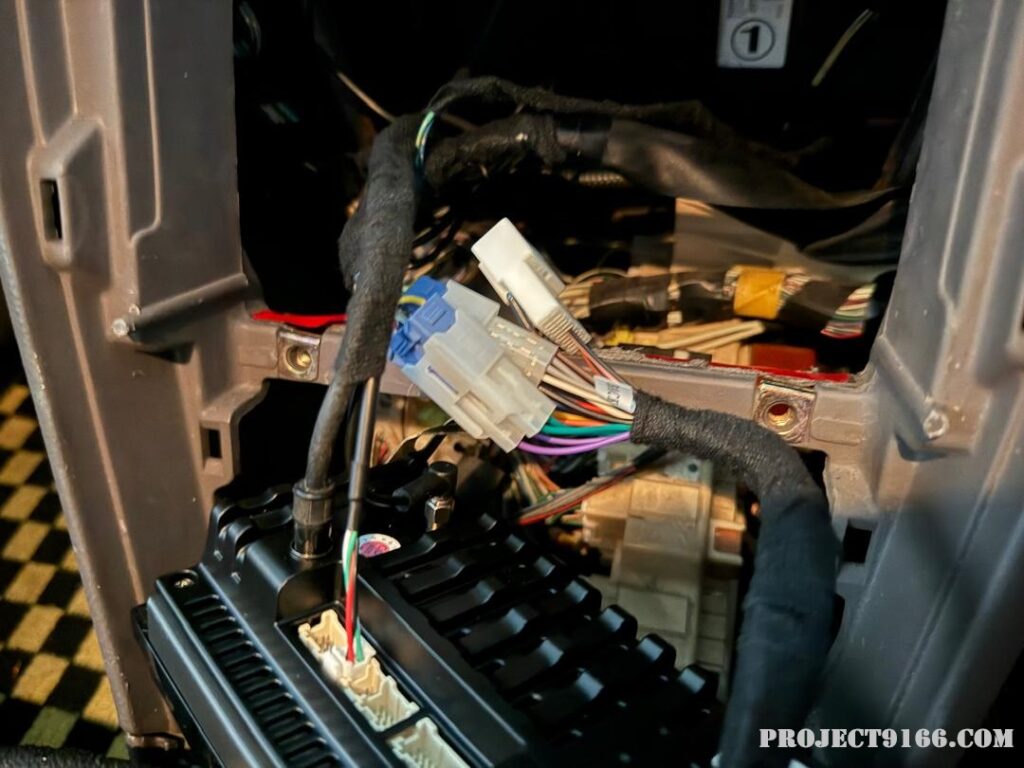
2. Disconnect the Original Harness
Unplug the factory connector and antenna. Keep them aside.
3. Plug and Play Wiring (No Cutting Required)
Connect the Toyota harness to the Carrozzeria CB72 harness.
That’s it, plug and play, no soldering, no wire matching headaches.
4. Mount the Carrozzeria CB72
Because the CB72 is 200mm x 100mm Toyota size, it slides in perfectly with an OEM look. Screw it in using the original screw points.
5. Power On and Test
Test these before closing the trim:
- Audio output on all speakers
- Bluetooth pairing
- GPS, Wi-Fi, touchscreen
- Reverse camera (if installed)
- DSP settings
Once everything works, snap the trim back into place.
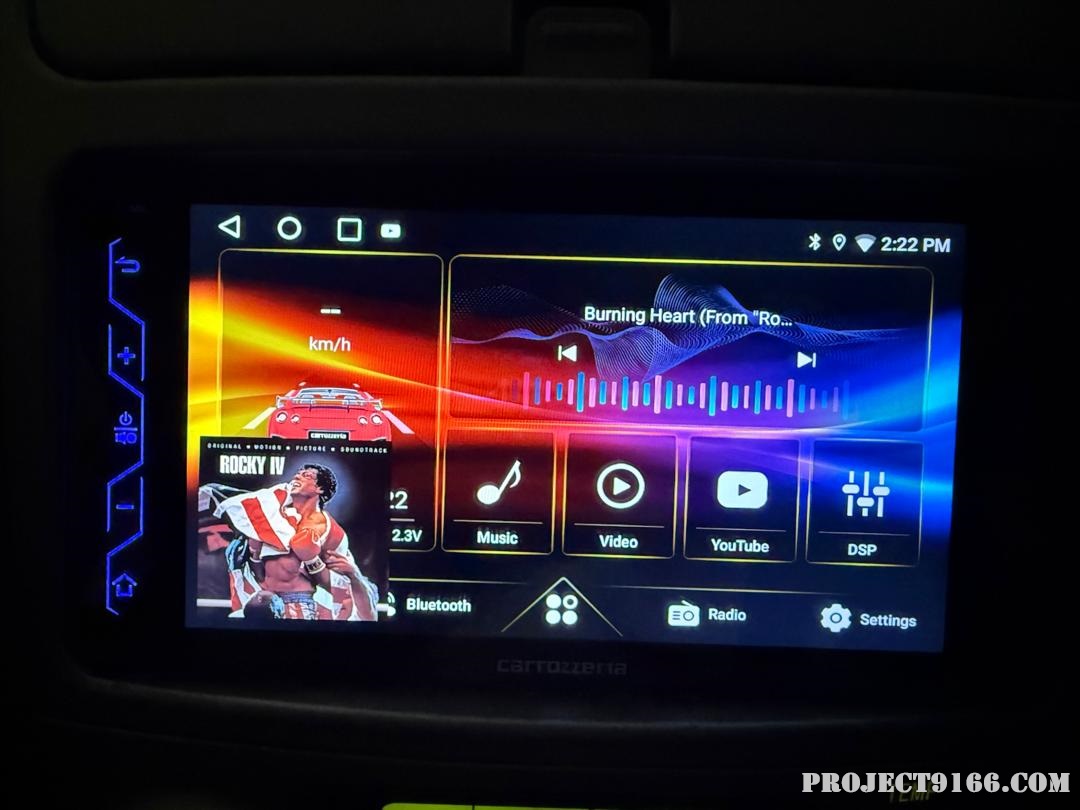
Carrozzeria CB72 Review: After Installation
After installing the Carrozzeria CB72, the improvement is immediate:
- Sound is clearer and louder
- Bass is tighter
- UI is smooth
- Bluetooth and GPS work well
- Screen visibility is sharp for a 7-inch unit
It modernizes the Celica interior without destroying its classic look.
Troubleshooting (If Something Goes Wrong)
| Symptom | Possible Cause | Fix |
|---|---|---|
| No sound | Speaker polarity or loose plug | Re-plug harness |
| No power | ACC/GND not seated | Re-insert connector |
| Weak bass | DSP not tuned | Adjust EQ/time alignment |
Installing the Carrozzeria CB72 in your Toyota Celica is one of the easiest and most worthwhile upgrades you can do. With plug-and-play wiring, perfect Toyota fitment, and strong audio performance, the CB72 delivers a clean OEM look with modern features. If you want better sound and a better driving experience, this upgrade is a no-brainer.