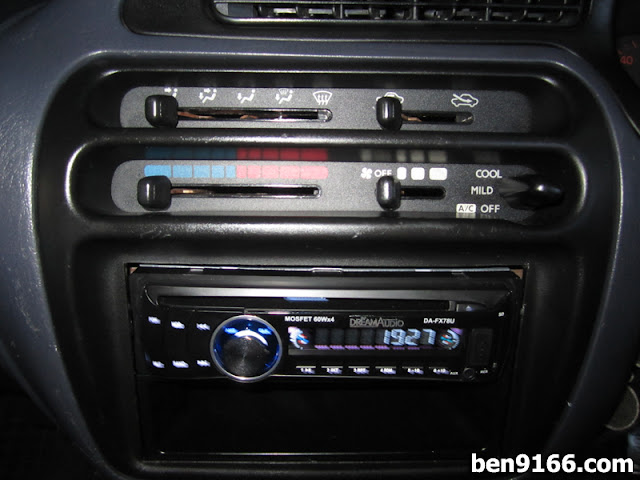
Upgrading a Car Player can breathe new life into your driving experience, especially for older cars like the Perodua Kancil. Early in 2011, I finally checked off one of my resolutions: installing a brand-new Car Player for my Kancil. My old Pioneer unit only supported CD and FM—and sadly, it broke due to a short circuit. So, it was time for an upgrade.
Why I Needed a New Car Player
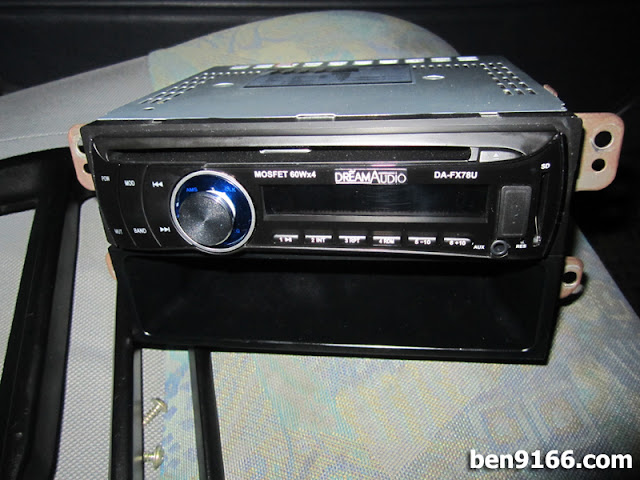
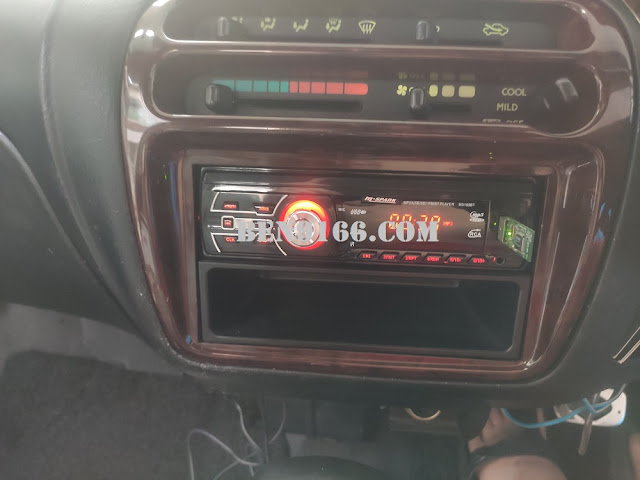
I was tired of burning audio CDs. I wanted a unit that supported USB and MP3 formats. After lots of searching, I found a budget-friendly Car Player that fit my needs perfectly. The brand? DreamAudio. The price? Only RM168! It supports USB, SD cards, AUX In, CD, and plays multiple audio formats like MP3, MP4, and WMA.
Tools You’ll Need
Before starting, prepare a few basic tools:
- Wire cutter
- Screwdriver
- Test lamp
- Black tape
Understanding Car Player Wiring
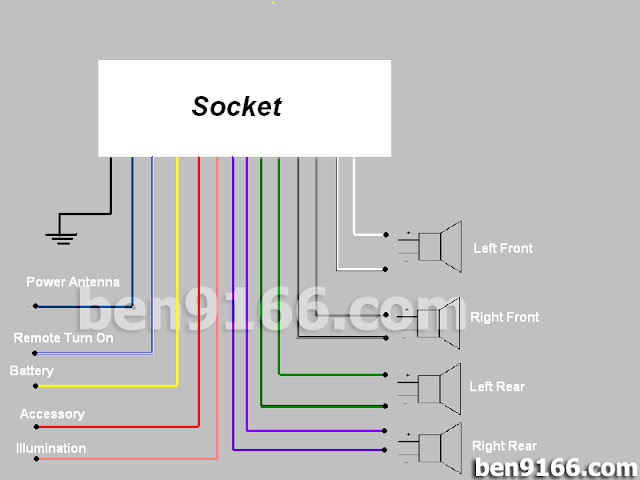
Most Car Players follow a similar wiring code. Here’s a quick guide:
Power Wires:
- Yellow = Constant +12V
- Red = ACC (ignition)
- Black = Ground
- Blue = Remote (for amp)
Speaker Wires:
- White / White-Black = Front Left (+ / -)
- Grey / Grey-Black = Front Right (+ / -)
- Green / Green-Black = Rear Left (+ / -)
- Purple / Purple-Black = Rear Right (+ / -)
Optional Wires:
- Dark Blue = Auto antenna
- Orange = Illumination
- Light Green = Parking brake
- Brown = Handset muting
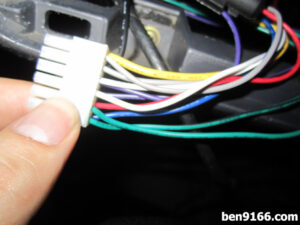
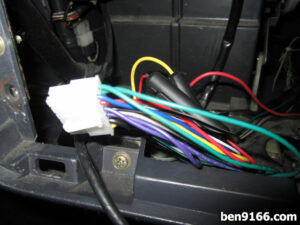
Don’t worry if the colors seem confusing. I always take photos during installation for easier reference later. After all, a picture is worth a thousand words!
How to Install the Car Player
Step 1: Identify the Constant +12V Wire
Use your test lamp. Ground one end and tap the other to the wires on the dashboard. The wire that lights up without turning the key is your +12V source.
Step 2: Find the ACC Wire
Repeat the process but turn the key to ACC. The correct wire will power up only in this position.
Step 3: Connect the Ground Wire
Attach the black wire to any metal part of the chassis for grounding.
Step 4: Disconnect the Battery
Always remove the battery terminal before wiring to avoid short circuits.
Step 5: Wire the Power Connections
Connect yellow to +12V and red to ACC. Secure all wires with black tape.
Step 6: Handle Optional Features
If your player supports video, connect the Light Green wire to the handbrake signal or ground it to bypass the safety. Connect the Blue wire to the amp if available.
Step 7: Speaker Wiring
Connect each speaker wire according to the color codes and if using an amplifier, plug in RCA cables instead.
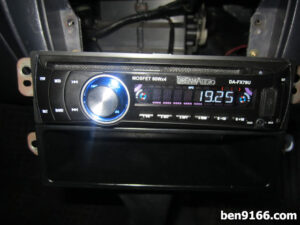
Step 8: Final Assembly
Plug in the antenna and socket to the Car Player. Reconnect your battery and test everything.
Upgrading your Car Player doesn’t have to cost a fortune or require professional help. With a little patience and a few tools, you can transform your Kancil’s audio setup and save money in the process. Happy modding!


1 thought on “Installing a New Car Player in My Kancil – Budget-Friendly Guide”