Intercooler Pipe Upgrade for Better Performance
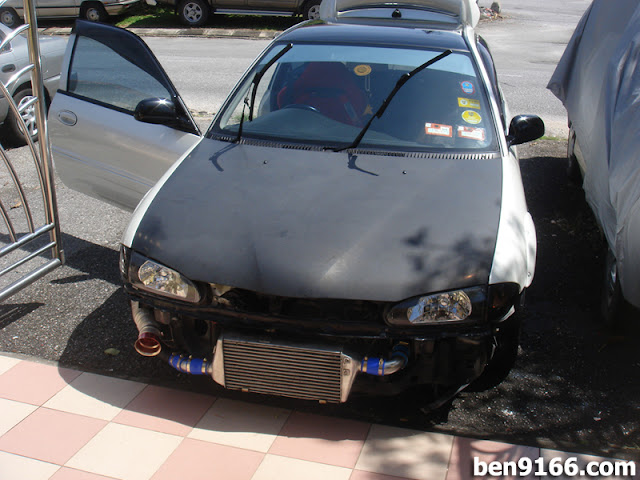
I finally got around to upgrading the intercooler pipe setup on my Proton Satria. The original hoses were worn out and starting to show signs of failure. I bought the replacement silicone hoses last May, but due to my packed schedule, the parts sat untouched until this Chinese New Year.
Despite the delay, I knew it had to be done. Old hoses not only risk a boost leak, but they can also affect performance and reliability. This time, I chose to install high-quality silicone hoses, along with a custom stainless steel 90-degree pipe to replace a section that didn’t align perfectly.
Prepping the Intercooler Pipe Replacement
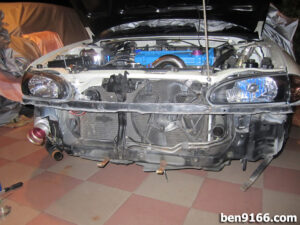
The installation process was straightforward, with just a few minor adjustments. Everything was almost plug-and-play, except for one challenge. The 90-degree bend from the front-right side (from the driver’s view) didn’t fit perfectly. So, I had to fabricate a new stainless steel pipe to match the alignment and avoid awkward bending.
Tools and Materials Used:
- Silicone intercooler hoses
- Stainless steel 90° pipe
- Hose clamps
- Basic tools (pliers, screwdrivers, socket set)
Step-by-Step Intercooler Pipe Installation
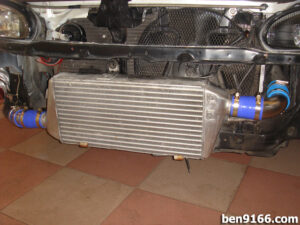
First, I removed the front bumper and intercooler. This gave me full access to the piping and allowed for a clean swap. With the old pipes off the car, I laid out the new silicone hoses and checked the fit.
Next, I installed the new 90-degree stainless steel pipe, securing it tightly with clamps. Once that was done, I connected the silicone hoses one by one, ensuring each connection was snug and sealed.
After all hoses were in place, I reattached the intercooler and the front bumper. It all went together nicely, and everything fit perfectly after a few small adjustments.

Final Checks After Installation
After I completed the installation, I immediately started the engine and let it idle for a few minutes. At the same time, I carefully listened and checked for any signs of boost leaks. Fortunately, everything sounded great and felt solid. The engine revved smoothly, and the boost pressure held steady without any issues.
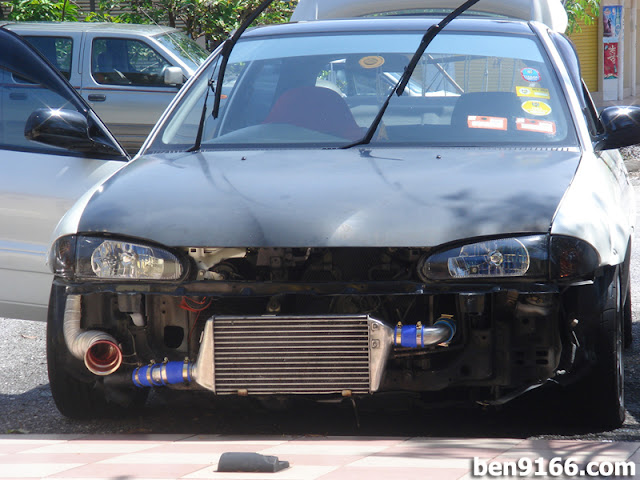
Clearly, this intercooler pipe upgrade was long overdue. By replacing the old setup with new silicone hoses and a custom stainless steel bend, I not only improved the reliability of my Satria but also gave it a cleaner, more aggressive look. In fact, the fitment turned out better than I expected, despite the small challenge with the 90-degree bend.
The new intercooler pipe setup not only looks cleaner but should also last longer and handle heat much better. It’s a small upgrade that makes a big difference in performance and peace of mind.
Final Thoughts
If you’re planning to do a similar mod, I strongly recommend taking precise measurements first. This way, you can avoid the kind of trial and error I experienced. Moreover, always go for high-quality parts. That decision alone will save you a lot of headaches during installation and ensure better long-term performance.
Thanks for reading! Stay tuned for more updates on my Satria project.